How to Repair a Braided Rug - A Step-by-Step Guide
Braided rugs are pieces of history, woven together with tradition and craftsmanship. Passed down through generations, these rugs hold sentimental value and add a touch of warmth to any room. However, like any cherished possession, braided rugs can show signs of wear and tear over time, making it necessary to learn how to repair a braided rug.
In this comprehensive step-by-step guide, we will walk you through the process of repairing a braided rug and give you DIY rug repair tips. By the end of this journey, you’ll have the skills to mend your rug. You will also have a deeper appreciation for the artistry behind these beautiful creations.
Also Read : Washington Rug Repair & Restoration Services
How to identify the damage to repair a braided rug?
Before you can begin to repair a braided rug, it’s crucial to assess the extent of the damage. Here’s how to identify common issues:
- Frays and Loose Threads: Inspect the edges and the surface of the rug for frayed edges or loose threads. These are often the first signs of wear and tear.
- Holes or Tears: Look for holes or tears in the braided fabric. These can result from heavy foot traffic, pet claws, or other accidents.
- Stains: Check for stains and discolorations on the rug’s surface. While not structural damage, stains can affect the rug’s appearance and may require special cleaning or treatment.
- Fading: Examine the rug for areas that have lost their color or appear faded due to sun exposure or cleaning agents.
- Uneven Braiding: Run your hand over the rug’s surface to feel for any areas where the braiding has become uneven or separated. This can create lumps or gaps in the rug.
- Worn Pile: In high-traffic areas, the pile of the rug may become worn down. So, this gives it a flat or uneven appearance.
- Odors: Smell the rug to detect any lingering odors, which could be a sign of mold or mildew growth.
Once you’ve identified the specific issues with your braided rug, you can determine the appropriate repair methods. Keep in mind that some repairs may be more straightforward, such as fixing loose threads. On the other hand, repairing holes or extensive fading may require more advanced techniques.

Repairing frayed or unraveled edges
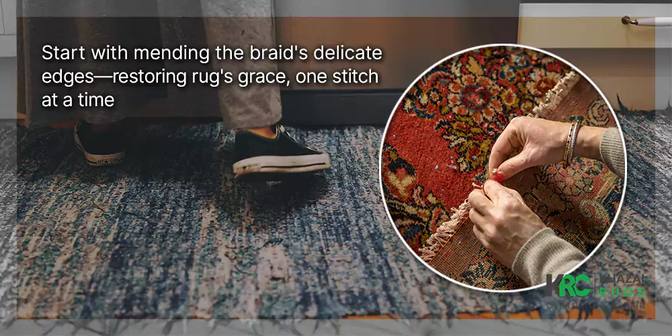
When you want to repair a braided rug, this step is often the first one. Over time, the edges can become damaged due to friction and foot traffic. To address this issue, gather the loose threads and carefully thread them back into the braid. A curved upholstery needle can be a helpful tool for this task.
Once the threads are in place, secure them with a few discreet stitches using matching thread. Trim any excess thread, ensuring the repaired edge blends seamlessly with the rest of the rug. For added durability, consider applying a fabric adhesive to the underside of the repaired edge.

Patching holes in a braided rug
Holes or tears in a braided rug can be unsightly and structurally problematic. So, you need to learn how to patch them to repair a braided rug. Follow these detailed steps for a successful repair:
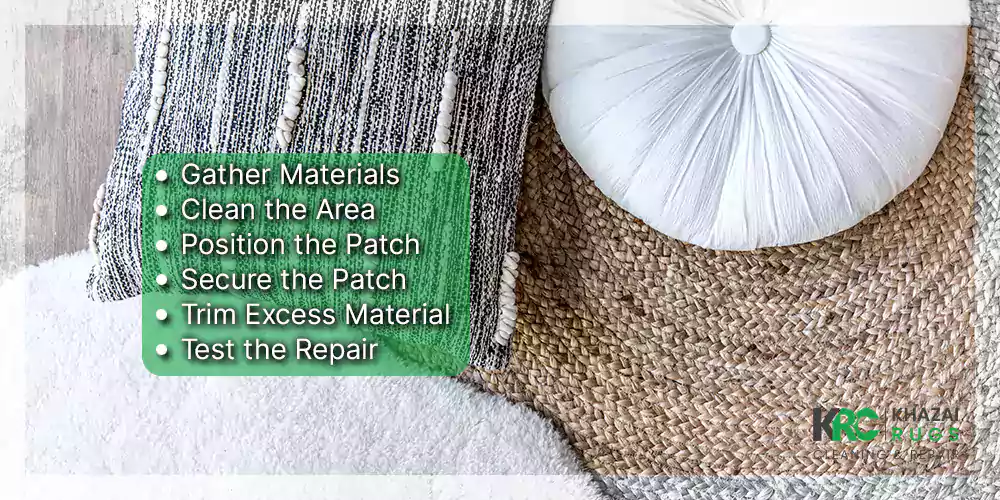
- Gather Materials: You’ll need a fabric patch that closely matches your rug’s color and pattern. Also, you need fabric glue or a needle and thread, scissors, and a curved upholstery needle.
- Clean the Area: Start by cleaning the area around the hole or tear to remove any loose fibers, dirt, or debris. A clean surface will ensure better adhesion for the patch.
- Position the Patch: Place the fabric patch beneath the hole, aligning its pattern with the surrounding braids. Ensure the patch extends slightly beyond the hole’s edges for a secure repair.
- Secure the Patch: Use fabric glue or a needle and thread to attach the patch to the rug. If using glue, apply a thin, even layer to the underside of the patch and press it firmly onto the rug. If using a needle and thread, stitch around the edges of the patch, securing it to the surrounding braids. Be sure your stitches are discreet and blend with the rug’s pattern.
- Trim Excess Material: Carefully trim any excess patch material to ensure a smooth and uniform surface. Take care not to cut the rug’s braids during this process.
- Test the Repair: Gently tug on the patched area to ensure it’s securely attached. The patch should feel stable and blend seamlessly with the rest of the rug.
Not sure if you’re taking the steps correctly? Count on us! At Khazai Rug Cleaning, we are always ready to help you repair a braided rug. Our professionals will teach you the best rug repair techniques and methods, as well as braided rug care and maintenance tips. So, please contact us and let us know how we can help!
You May Like : Rug Repair – When You Have a Rug Chewed by a Dog
Reattaching loose strands or braids
Loose strands or braids can create uneven areas on your braided rug, making it appear lumpy or distorted. To fix this, gently unravel the loose section until you reach a stable point where the braiding is secure. Then, use a curved upholstery needle and matching thread to stitch the loose portion back into place.
Ensure your stitches are discreet and follow the pattern of the existing braid. After reattaching the loose strands, press the repaired area with a heavy object to help it lie flat and blend in with the rest of the rug.
Dealing with stains and discoloration
Stains and discoloration can be particularly challenging to address in a braided rug. The reason is they not only affect its visual appeal but also its overall character. To effectively deal with these issues, follow these detailed steps:
- Identify the Stain Type: Begin by identifying the type of stain you’re dealing with. Different stains require different treatment methods. Common stains include food, pet urine, ink, and wine. Each may necessitate a unique approach.
- Blot, Don’t Rub: When you notice a fresh stain, immediately blot it with a clean, white cloth or paper towel. Avoid rubbing, as this can push the stain deeper into the fibers.
- Prepare a Cleaning Solution: Mix a mild detergent with warm water. Use a small amount of detergent to create a soapy solution. Ensure it is suitable for your rug’s material. Test a small, inconspicuous area of the rug to make sure the detergent doesn’t cause discoloration or damage.
- Spot Cleaning: Apply the soapy solution to the stained area with a clean cloth or sponge. Gently blot and pat the stain, working from the outer edges towards the center. Avoid saturating the rug, as excessive moisture can lead to mold or mildew.
- Rinse and Blot: After treating the stain, rinse the affected area with clean water to remove any detergent residue. Blot the area with a dry cloth until it’s as dry as possible.
- Repeat as Necessary: Stubborn stains may require multiple applications. Be patient and persistent, but avoid over-saturating the rug. Allow the rug to dry completely between attempts.
Trimming and finishing touches
After making repairs, you may need to trim any excess thread, patch material, or uneven fibers. So, you can ensure the rug’s surface is smooth and uniform. Be careful not to cut the braids themselves. If you’ve used fabric adhesive, allow it to dry completely before trimming. Additionally, examine the repaired areas to ensure they blend seamlessly with the rest of the rug. This attention to detail will help your rug appear as good as new.
Final inspection and testing
Before returning your braided rug to its intended space:
- Conduct a thorough inspection.
- Check all the repaired areas for stability and visual continuity.
- Give the rug a gentle shake or tap to ensure that the repairs hold up under movement. If your rug underwent extensive cleaning, allow it to dry completely before placing it back in your home.
- Lay the rug in its designated spot and enjoy the beauty and comfort it adds to your living space once again.
Final words
Each step mentioned in the restoration process contributes to reviving your braided rug’s allure. The meticulous attention to detail, combined with a passion for craftsmanship, results in a rug that looks as good as new.
As you complete the final touches and lay your rug back in its place, take a moment to appreciate the job well done. Don’t forget that you can always count on Khazai Rug Cleaning Washington DC to give your braided rug a professional, thorough cleaning. Please don’t hesitate to contact us and benefit from our fifth-generation expertise.


